

We all know how challenging securing boxes with packing tape can get. The last thing we want is to face the nightmares of unevenly torn tape, sticky messes, and frustration.
But worry not!
We’ve compiled a guide to mastering this art with the right tools and expert tips so you can breeze through it. Get ready to use a packing tape dispenser effectively and efficiently with us! And if you want to find the best tape dispenser, you know where to look.
But first, let’s take a brief walk down memory lane. Did you know who invented the tape roller dispenser and when?
The First Tape Dispenser
In 1932, John Borden, the scotch tape sales manager at 3M, designed the first tape roller dispenser. Weighing almost 7 pounds, this dispenser was made from cast iron with a built-in cutting mechanism that could hold the cut end of the tape until its subsequent use.
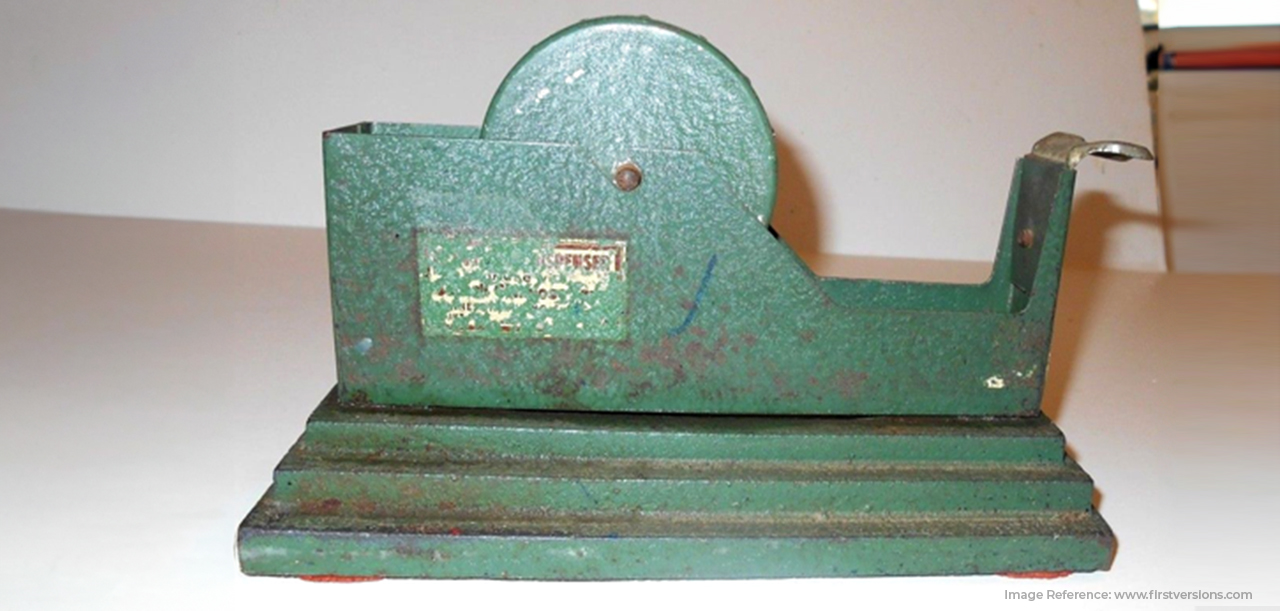
From cast iron, it soon evolved to plastic, being widely used as handheld tape cutting dispensers and tabletop dispensers. Quite fascinating, right?
So, what’s the best way to use these tape dispensers when taping boxes for moving and shipping?
It’s a series of steps, including using the suitable dispenser, loading the tape correctly, getting the right tension for a smooth application, ensuring you position the dispenser right when taping the boxes, applying even pressure, and cutting cleanly. Now, let’s uncover these steps in further detail.
Using Packing Tape Dispensers the Right Way
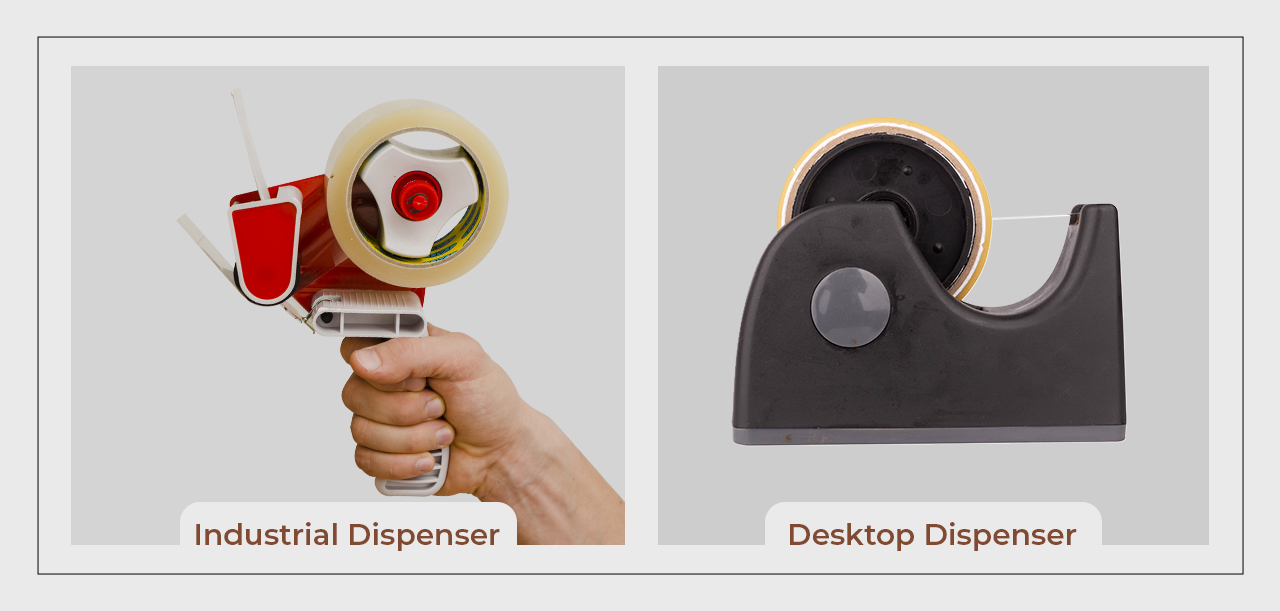
Step 1: Choosing the Right Dispenser
There are two types of tape dispensers - handheld and desktop/tabletop. While handheld dispensers are ideal for small to medium-sized packing jobs, desktop dispensers are better suited for heavy-duty packing.
Step 2: Loading the Tape
Loading the tape right is the key to dispensing the tape properly. Consider the following steps to load your tape in a handheld tape gun dispenser and a desktop one:
01 | Locate the end of your tape roll
Most new tape rolls will already have their ends marked with paper. If the end is not marked or you’re using a used roll, find the end by locating a ridge on the tape with your fingernail. Then, pull out a quarter or half inch of tape and fold it back under itself to create a tab marking the end. You can also use small, flat objects like a toothpick, paperclip, or sticky note at the end of the tape.
02 | Insert the roll in the dispenser
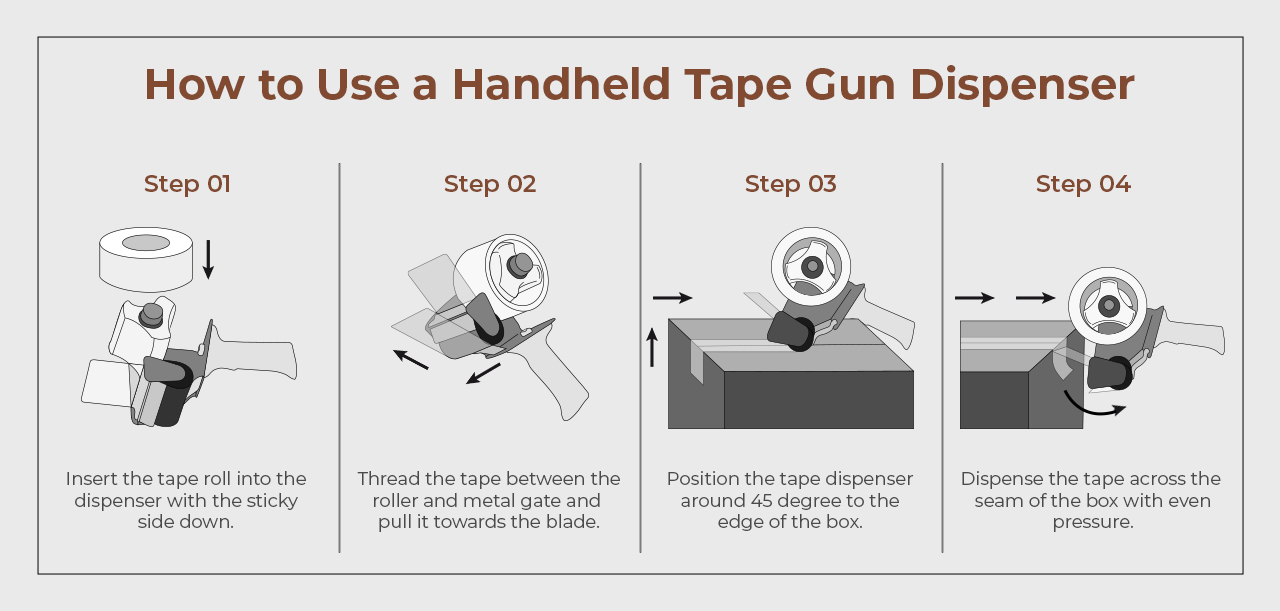
For handheld dispensers: Lay the dispenser with the wheel side up and your tape on a flat surface, like a table. Then, push the tape roll onto the wheel with the sticky side facing down. The end of the tape roll should face the cutting edge.
For desktop dispensers: If the dispenser opens from both sides, pull apart the sides. If it has a hinged cover, pull it open. Now, slide your tape roll inside and close the sides/cover.
03 | Thread the end of the tape
For handheld dispensers: Pull and thread the tape in the gap between the metal gate and the roller. Then, pull it up towards the blade. Ensure that the sticky part of your tape is facing down. If it isn’t, take the tape off the wheel and flip it over. Otherwise, the tape will stick to the roller.
For desktop dispensers: Thread the tape between the prongs and the serrated blade.
Step 3: Get the Right Tension
The correct tension will give you a smooth tape application. Adjust the knob or lever on your dispenser to settle on the right tension for your needs. Too much tension can cause the tape to tear, while too little tension can cause loose and ineffective sealing.
Step 4: Position the Dispenser Properly
Positioning your tape dispenser at an angle of around 45 degrees to the box’s edge is considered ideal for sealing it. This angle helps apply the tape evenly and smoothly across the seams. Start from one end and work your way to the other, maintaining a consistent speed.
Step 5: Apply Even Pressure
Ensure the tape sticks securely by applying an even pressure while running the dispenser along the seam. Use one hand to press the tape onto the surface, eliminate air bubbles, and improve adhesion.
Step 6: Cut Cleanly
Cut the tape cleanly while being cautious of accidental cuts or injuries. Pull the tap to your desired length and press it against the cutting blade quickly and firmly.
Step 7: Keep It Tidy
Ensure the loose end of your tape doesn’t stick to the roll or itself. Fold the end like in the first step so you can find it easily the next time you use your dispenser.
Conclusion
With these pro tips, using a packing tape dispenser will no longer be a hassle. Ensure you use the suitable dispenser according to your needs, load your tape roll correctly, adjust the tension, and keep the cuts clean.
Before signing off, here’s thanking dear John Borden for bringing this fantastic piece of technology - the best tape dispenser into being!